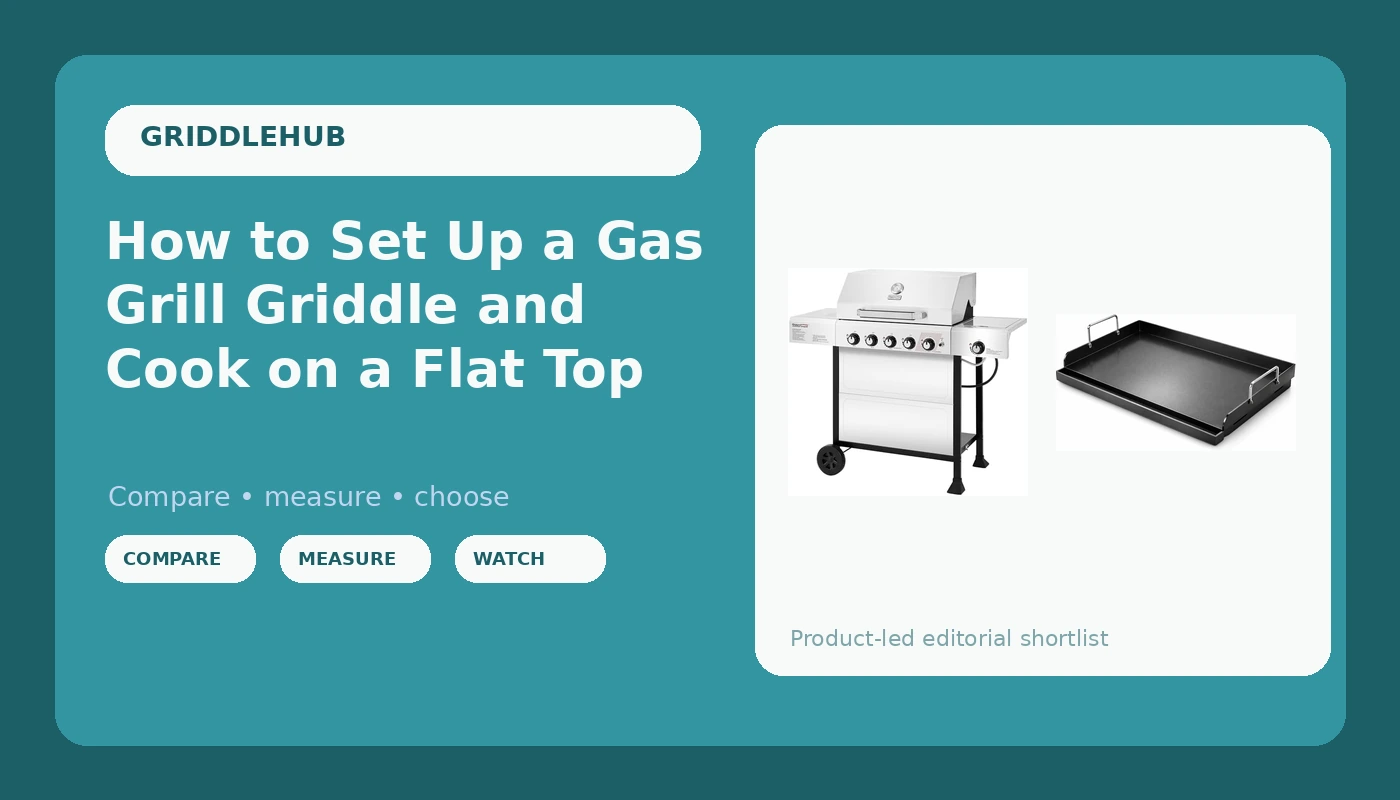
Gas grill griddle setup is the cheapest route to a real flat top. You do not need a dedicated 36-inch propane griddle to cook smash burgers, hash browns, fried rice, and a full breakfast for six people. You need a slab of cast iron that fits across the grates you already own, a grill with enough burner zones to hold two different temperatures at once, and about an hour of practice on a hot surface.
I spent eight of my thirteen kitchen years on the flat top, most of them at a diner that served 400 breakfasts before 11 a.m. These days I run a food trailer and a backyard griddle in Phoenix that gets used three nights a week minimum. The flat top is the most versatile cooking surface there is, and the version most people can actually afford is the one that drops onto the gas grill already sitting on their patio.
That is what this guide covers: how to pick the griddle insert, how to fit it, how to season and maintain it, and how to run a real cook on it without fighting the surface. Two pieces of gear do the work. Everything else is technique.
Why you should trust me
Thirteen years on the line, eight of them on a four-foot commercial flat top. I have cooked everything on that surface from smash burgers to hibachi for thirty people, and I have scraped it down at the end of every one of those shifts. A griddle is a habit as much as it is a piece of equipment. The surface that rusts is the surface that got neglected, not the surface that was bad.
When I test a griddle I do it the way a short-order cook does. A hundred smash burgers. A full breakfast service with eggs, potatoes, pancakes, and bacon all hitting the same surface in the same hour. Then the seasoning test, which is sixty days of normal use with honest notes about what the surface looks like when I slack off.
I do not make "won't rust" claims, because everything rusts if you neglect it. I do not make temperature claims without a surface thermometer. And I do not quote prices, because they move every week. Every listing in this guide says the same thing: Check current Amazon price.
How I picked and how I tested
This article is not about which brand wins a beauty contest. It is about the two pieces of gear that make a gas grill griddle setup work: the flat top surface itself, and the grill underneath it that supplies the heat and the burner zones.
The criteria are the ones I use on any griddle. Does the heat spread across the surface, or does it sit in a hot stripe over one burner? Does the grease go somewhere you can actually clean? Will the surface hold what you build on it for a full season?
For the surface, that means cast iron or thick steel, a footprint that fits your grate area without hanging over the firebox, and a finish you can maintain. For the grill, that means independent burner zones so you can hold a cool side and a hot side, a lid that closes over the griddle, and a grease path that does not back up during a bacon-heavy cook.
Both pieces below are judged by the same standard: a full breakfast service, a hundred smash burgers, and a sixty-day check on how the surface and the grease management hold up.
The griddle you'll need before you start
The surface is the whole point. If the flat top is too thin it flexes, and you get a hot stripe over the burner with cold corners everywhere else. If it is too big it hangs over the firebox and never gets hot enough to sear.
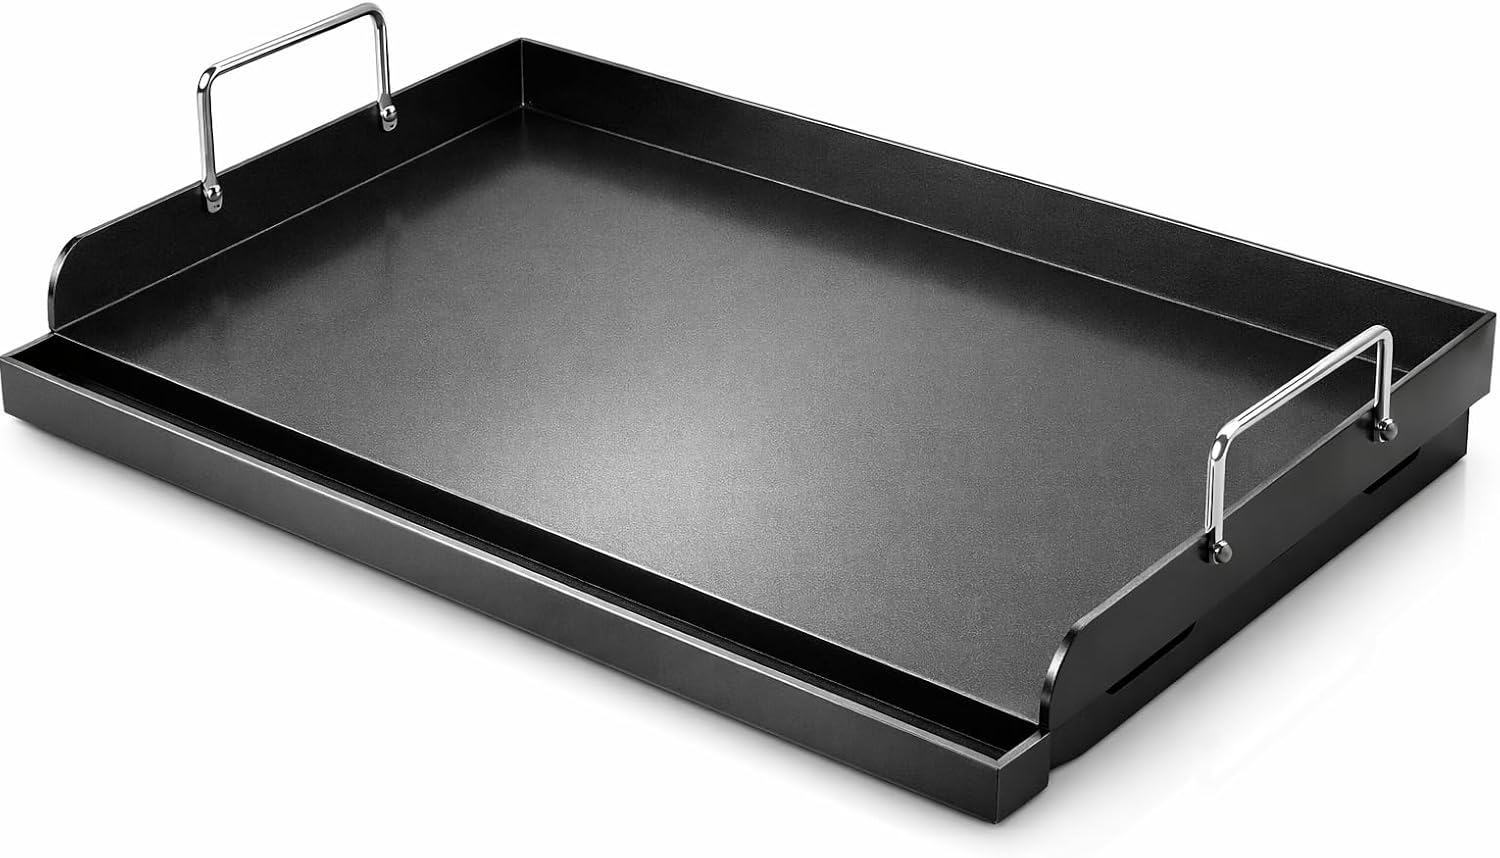
The flat top surface: Utheer 25x16 Pre-Seasoned Nonstick Ceramic Cast Iron Griddle for Gas Grill
 Visit on Amazon →
This is the piece that turns a gas grill into a flat top. Cast iron is the right material here because it holds heat and gives it back when a cold burger patty lands on the surface. The 25x16 footprint is the number that matters: it spans the middle of a five-burner grill without covering the outer burners, so you keep a hot zone down the center and cooler edges for eggs and pancakes. It arrives pre-seasoned, which means you can cook on it the day it shows up instead of spending a weekend building a seasoning layer from scratch.
The ceramic nonstick finish is the trade-off to understand before you buy. This is not bare steel, so treat it differently. No metal scraper dragged across the coating the way you would on a commercial flat top. No chain mail scrubber. Use a plastic or wooden scraper, warm water, and a thin coat of oil after every cook. Do that and the finish keeps releasing eggs.
Flaws but not dealbreakers: The ceramic coating means you are not building a classic polymerized seasoning layer, you are maintaining a factory finish. If you want the full cast iron experience with a steel spatula and a hard scrape, buy bare steel and season it yourself. If you want to cook eggs on Saturday morning without a project, this is the version to get.
Anyone cooking for two to six people on a standard gas grill, who wants a flat top without buying a second appliance, should start here. Check current Amazon price before you commit, since the listing moves with the season.
The grill it sits on
The griddle is only as good as the heat under it. Burner layout decides everything. Four burners of nothing beats two burners of hype, and a five-burner grill with a real side burner gives you a hot zone, a warm zone, and a place to hold a pot of beans while the burgers finish.
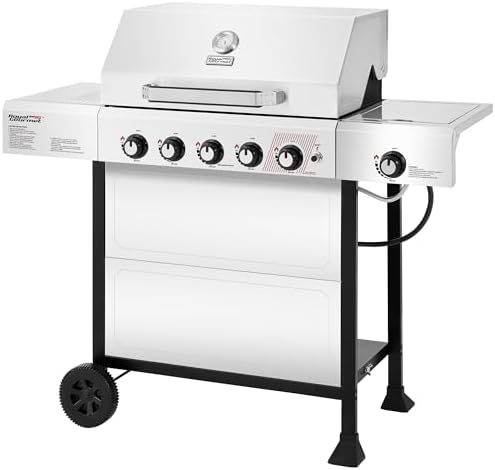
The host grill: Royal Gourmet GA5401T 5-Burner BBQ Liquid Propane Gas Grill with Side Burner
 Visit on Amazon →
This is the grill I point people to when they want the most burner zones for the least money and they are willing to take care of the steel. Five main burners plus a side burner, liquid propane, a stainless steel body, and 61,000 BTU of rated output. The number that matters is not the BTU figure on the box, it is that five burners give you five independent zones. That is what makes a griddle setup work. Light the two or three burners under the flat top, leave the rest off, and you have a hot side and a cool side on the same surface.
The side burner is the underrated part. On a griddle cook you are usually running a sauce, a pot of beans, or a batch of bacon grease that needs to come off the main surface. Having a burner outside the griddle footprint means you are not juggling pans on the flat top while the eggs set.
Budget grills use thinner steel in the firebox and the lid, which means they shed heat faster when the wind picks up, and the lid feels lighter than a premium unit in year three. In Phoenix that is a manageable trade. In a cold, windy climate, plan on a wind break and a longer preheat.
Flaws but not dealbreakers: Thinner steel and a lighter build than the premium names. Check the grease tray and the drip path on any grill in this class before you commit to a bacon-heavy breakfast, because a grease trap that backs up ruins a cook faster than anything else on this list.
Anyone who wants five real burner zones, a side burner, and a full-size cooking area without paying premium prices should look here first. Check current Amazon price and compare it against the two-burner grills you were considering.
The actual griddle workflow
Now the part you came for. This works on any gas grill with a drop-in griddle, and it works the same way on a dedicated flat top if you already own one.
Step one: fit and level the surface. Set the griddle across the grates so it sits flat and does not rock. If it wobbles, the heat will be uneven and your spatula will catch on every flip. A rocking griddle is a lifetime of uneven burgers, which is why I tell people to skip the cheap portable units with warped surfaces.
Step two: preheat with the lid closed. Light the burners under the griddle and close the lid. Cast iron takes time to come up to temperature, and a surface that is not fully hot will stick no matter how much oil you use. Give it ten to fifteen minutes, longer on a cold morning.
Step three: find your hot zone. Every multi-burner grill has one area that runs hotter than the rest. Lay a tortilla or a slice of bread on the surface and watch where it browns first. That is your sear zone. Everything else is your holding zone. Learn it once and you will cook on this grill for years without thinking about it.
Step four: oil thin. A squeeze bottle of neutral oil and a folded paper towel. A thin coat, not a puddle. Too much oil and you are frying, not griddling, and the surface smokes and gums up.
Step five: cook in the right order. Onions and peppers first if you are doing burgers, because they take the longest and they season the surface as they go. Hash browns and potatoes next, pressed flat. Then proteins. Then eggs last, in the coolest corner you have. A flat top is a piano. You play it all day, and the order you play it in is the whole song.
Step six: smash properly. A ball of ground beef, a hot surface, and a thin layer of oil. Press it flat with a spatula for about thirty seconds and do not touch it again until the crust forms and releases on its own. If you are fighting it, the surface was not hot enough or the patty was too cold.
Step seven: manage the grease while you cook. Have a scrape cup or a foil-lined tray next to the grill before you start. Push the fat toward the drain channel as you go, not at the end. Grease management decides whether you cook or fight.
Step eight: clean while it is hot. Scrape the surface down while it is still warm, wipe it with a wet towel, and let the steam lift the residue. Then a thin coat of oil across the whole surface before you close the lid. That last thirty seconds is the difference between a griddle that lasts and a griddle that rusts.
On a ceramic-coated surface, swap the metal scraper for a plastic one and skip the aggressive scrubbing. On bare steel or uncoated cast iron, scrape hard and season often. Same workflow, different hands.
The competition and why it lost
The obvious alternative is a dedicated propane flat top, the kind with its own cart and its own burners. Those are great machines. The reason I do not start there is space and money. You are buying a second appliance, a second propane tank, and a second footprint on the patio, and you are still going to want a regular grill for steaks, chicken, and anything that wants a grate.
The other alternative is a cheap tabletop griddle that sits on a picnic table. Skip those. Thin steel warps, and a warped griddle gives you a hot spot in the middle with cold corners, which is exactly the problem you were trying to solve in the first place.
If you already own a gas grill with independent burners, the drop-in route costs a fraction of a second appliance and takes up no extra space. That is the whole argument, and it is a good one.
What this actually costs
Two purchases: the griddle surface and the grill under it. Prices on both move with the season, so check the listings. Both listings read the same way: Check current Amazon price.
What you are really spending is propane and time. A griddle cook runs longer than a grill cook because cast iron has to soak heat before the first burger lands, and because you cook in batches rather than over one hot fire. Budget an extra ten minutes of preheat and one extra tank refill a season over what you use now.
The rest of the cost is a scraper, a squeeze bottle, a spatula, and a surface thermometer. That is it. Not a kit, not a set of thirty gadgets. A burger flipper and a scraper are all the tools you need.
The food math is where the setup pays for itself. A griddle breakfast for six people, at diner prices, runs most of the way to the cost of the surface itself. Do that four or five weekends and the griddle has paid for itself, and you still own it.
That is the job. Your grill was built to do more than grill. Let it.